Appearance
Vendor Page
Marketplaces build trust thanks to their vendors. For this, we have made a vendor page that enables the marketplace to create a dedicated collection page for each vendor.

Enable and configure the vendor page
The vendor page can be enabled by the marketplace in Admin panel > Features > Enable vendor page.
The vendor's page fields can be configured in Admin panel > Vendor fields, look at our dedicated section to learn more about it: Vendor fields.
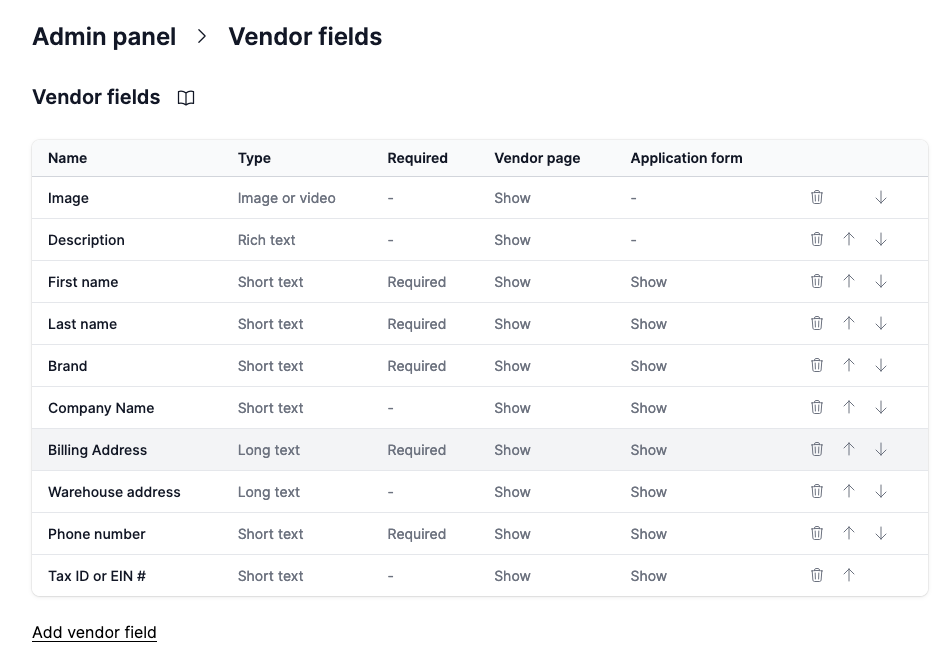
Available fields
The fields displayed on the vendor page can be configured in the Registration Field section. The vendor will need to fill all fields marked as Required to complete their profile.
Approval step
It is the same process as with products - the vendor submits the first draft to the marketplace. Once live, the vendor is free to make any changes they wish.
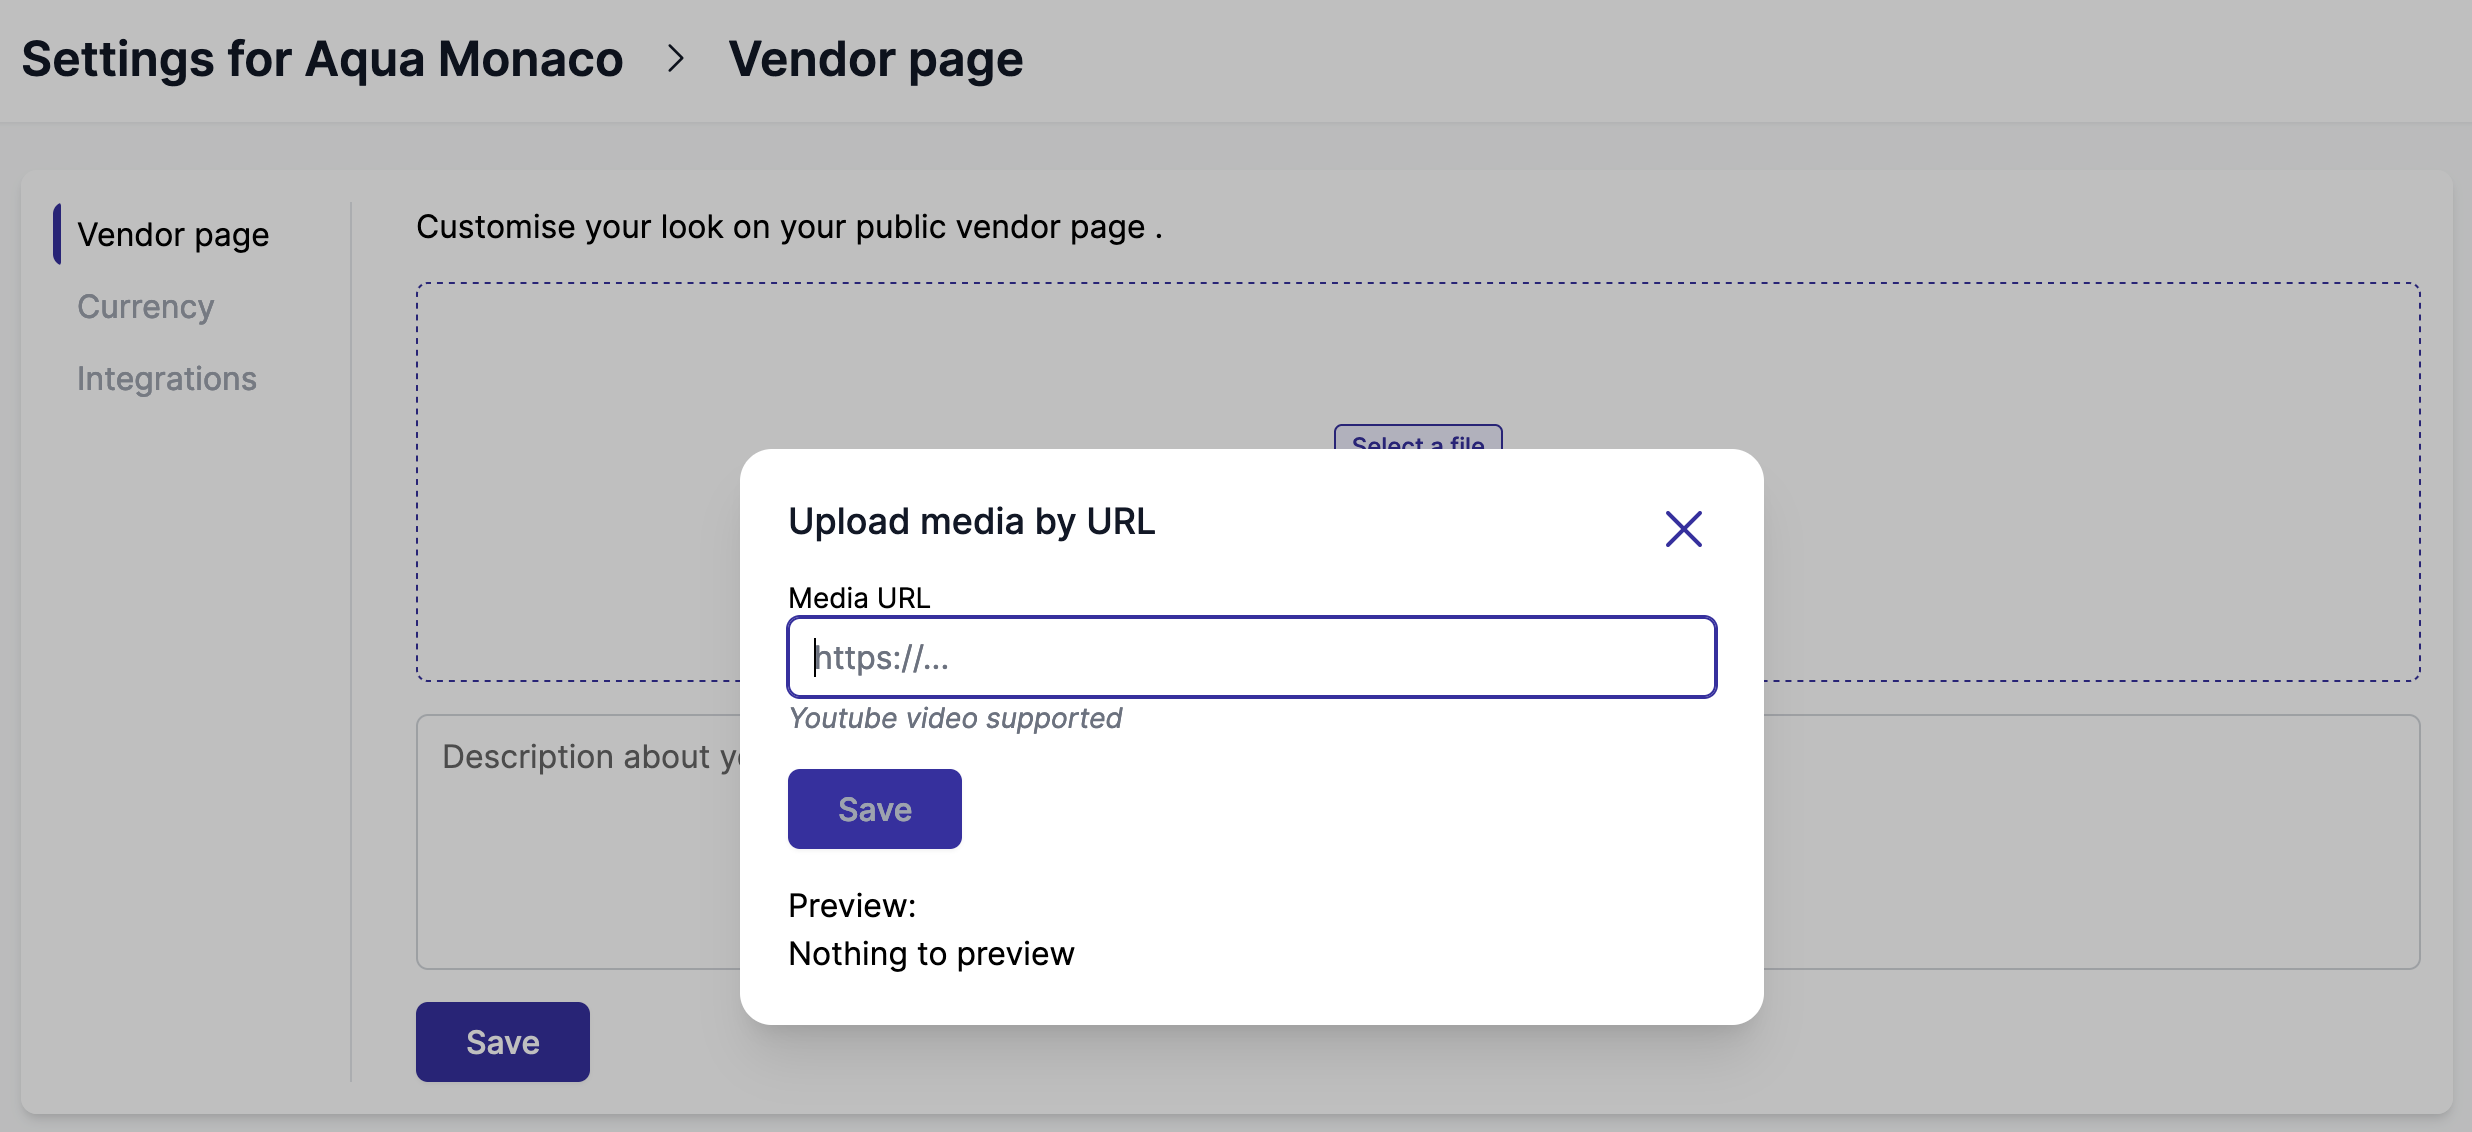
Upload a youtube video
Vendors can also upload a youtube video instead of a photo. They will natively be displayed in Shopify.
Customize vendor's page design
The marketplace can customize the vendor page design. In Shopify, a vendor page is a metaobject. You can create a custom metaobject template by following these steps:
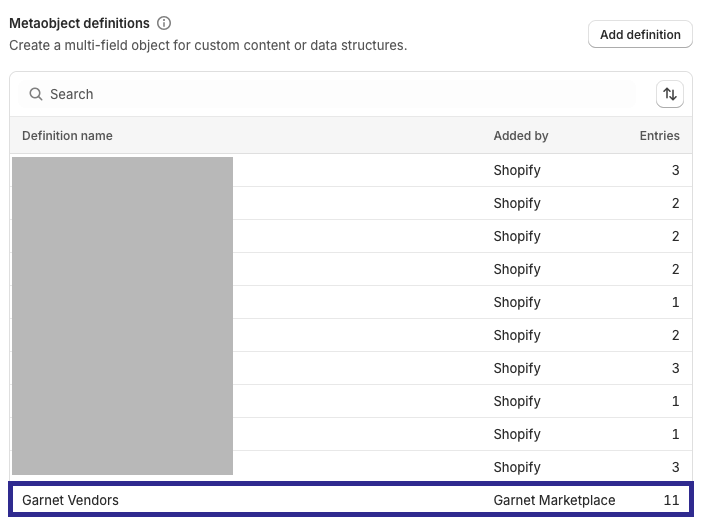
1. Enable the metaobject template
- Go to
Shopify > Settings > Metafields & metaobjects - In Metaobject definitions, click on
Garnet Vendors
- Go to Metaobject options and ensure the following toggles are activated: Publish entries as web pages and Storefronts API access
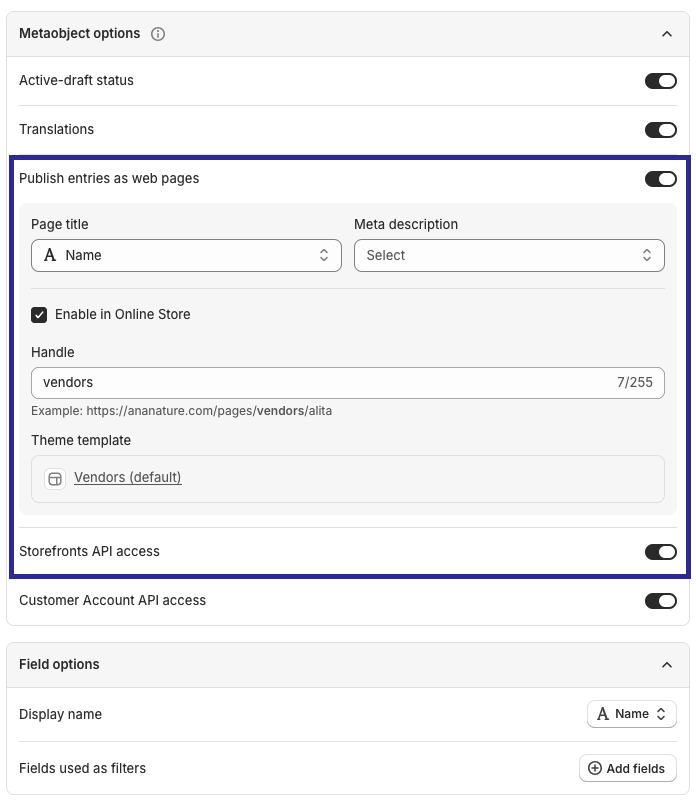
- Click
Save
2. Create a metaobject template
- Go to
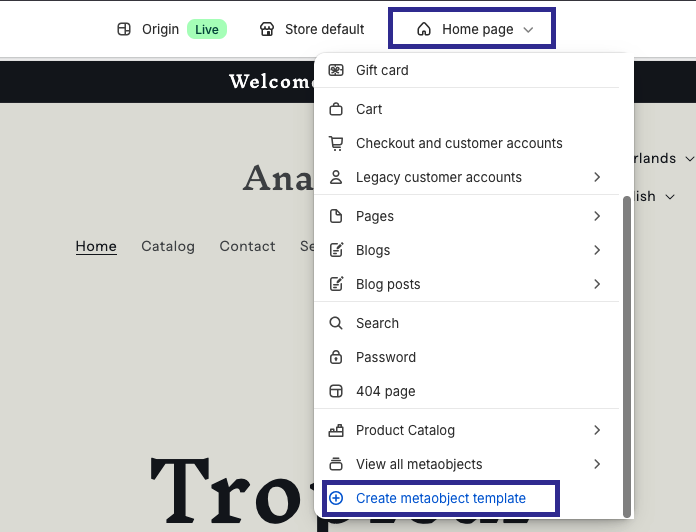
Shopify > Themes > Edit Theme > Home page menu > Create metaobject template
3. Design the metaobject template
You can now customize the page as you want e.g., include dynamic data linked to the vendor metafields, display vendor products collection (vendor must have his vendor page published on Garnet to link automatically the relevant products collection)
Reorder products
Vendors can change the product order of their vendor profile. The products can be sorted by newest first (default), alphabetically, by price, and even manually change the product order.
When you are changing the order manually, all products will display and the page. You can drag and drop them to define the new order. Once saved, the order will appear on the product page right away.
Profile guidelines
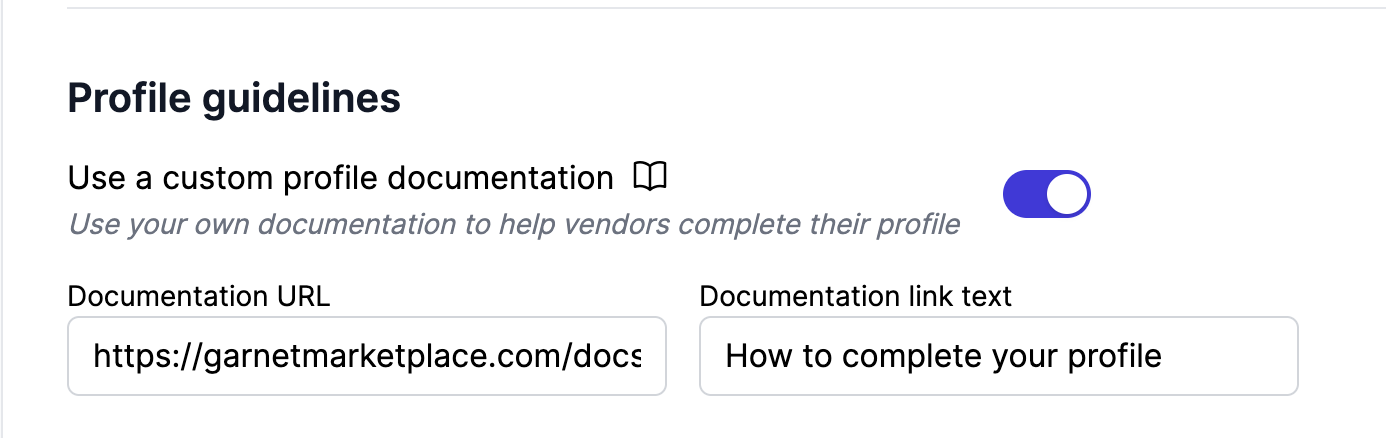
Marketplaces can provide a custom documentation link to guide vendors when completing their profile. The link is displayed on the vendor's profile settings page, below the save button.
- Go to
Admin Panel > Vendor Profile > Profile guidelines - Enable
Use a custom profile documentation - Fill in the Documentation URL — the link vendors will be redirected to
- Fill in the Documentation link text — the text displayed on the link
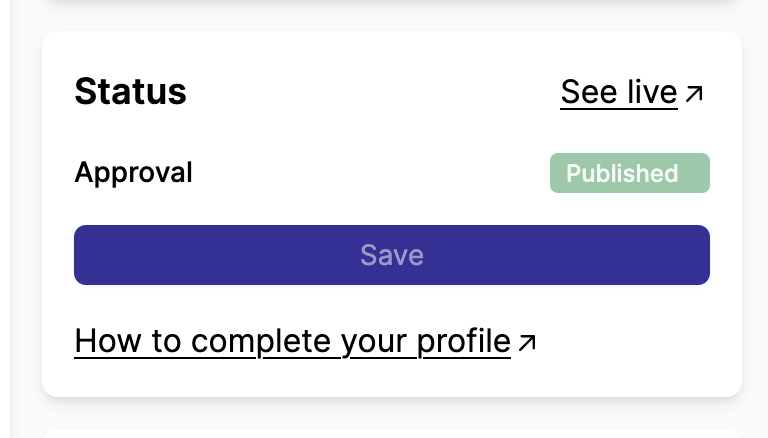
Once enabled, vendors will see the documentation link on their profile page, in the status card.
SEO
Vendor pages are SEO-friendly, Garnet sets the page SEO title and SEO description. You can customize the SEO by editing the collection template linked to the vendor pages.