
Custom login forms
This is one of the 4 ways to invite a vendor on Garnet.
If you want to build your own login UI instead of using the Garnet login iframe, you can use simple HTML forms to authenticate users.
TIP
The code examples below are minimal working examples. You will need to add your own CSS styling to make them production-ready.
To adapt the form to your marketplace:
- Replace
your-storeby your Shopify store id. - If you are using a custom domain, replace
your-store.garnet.centerwith your custom domain in all forms below. - Edit the email notifications to point to your custom pages.
For password recovery, see password recovery. Every endpoint is described in the API reference.
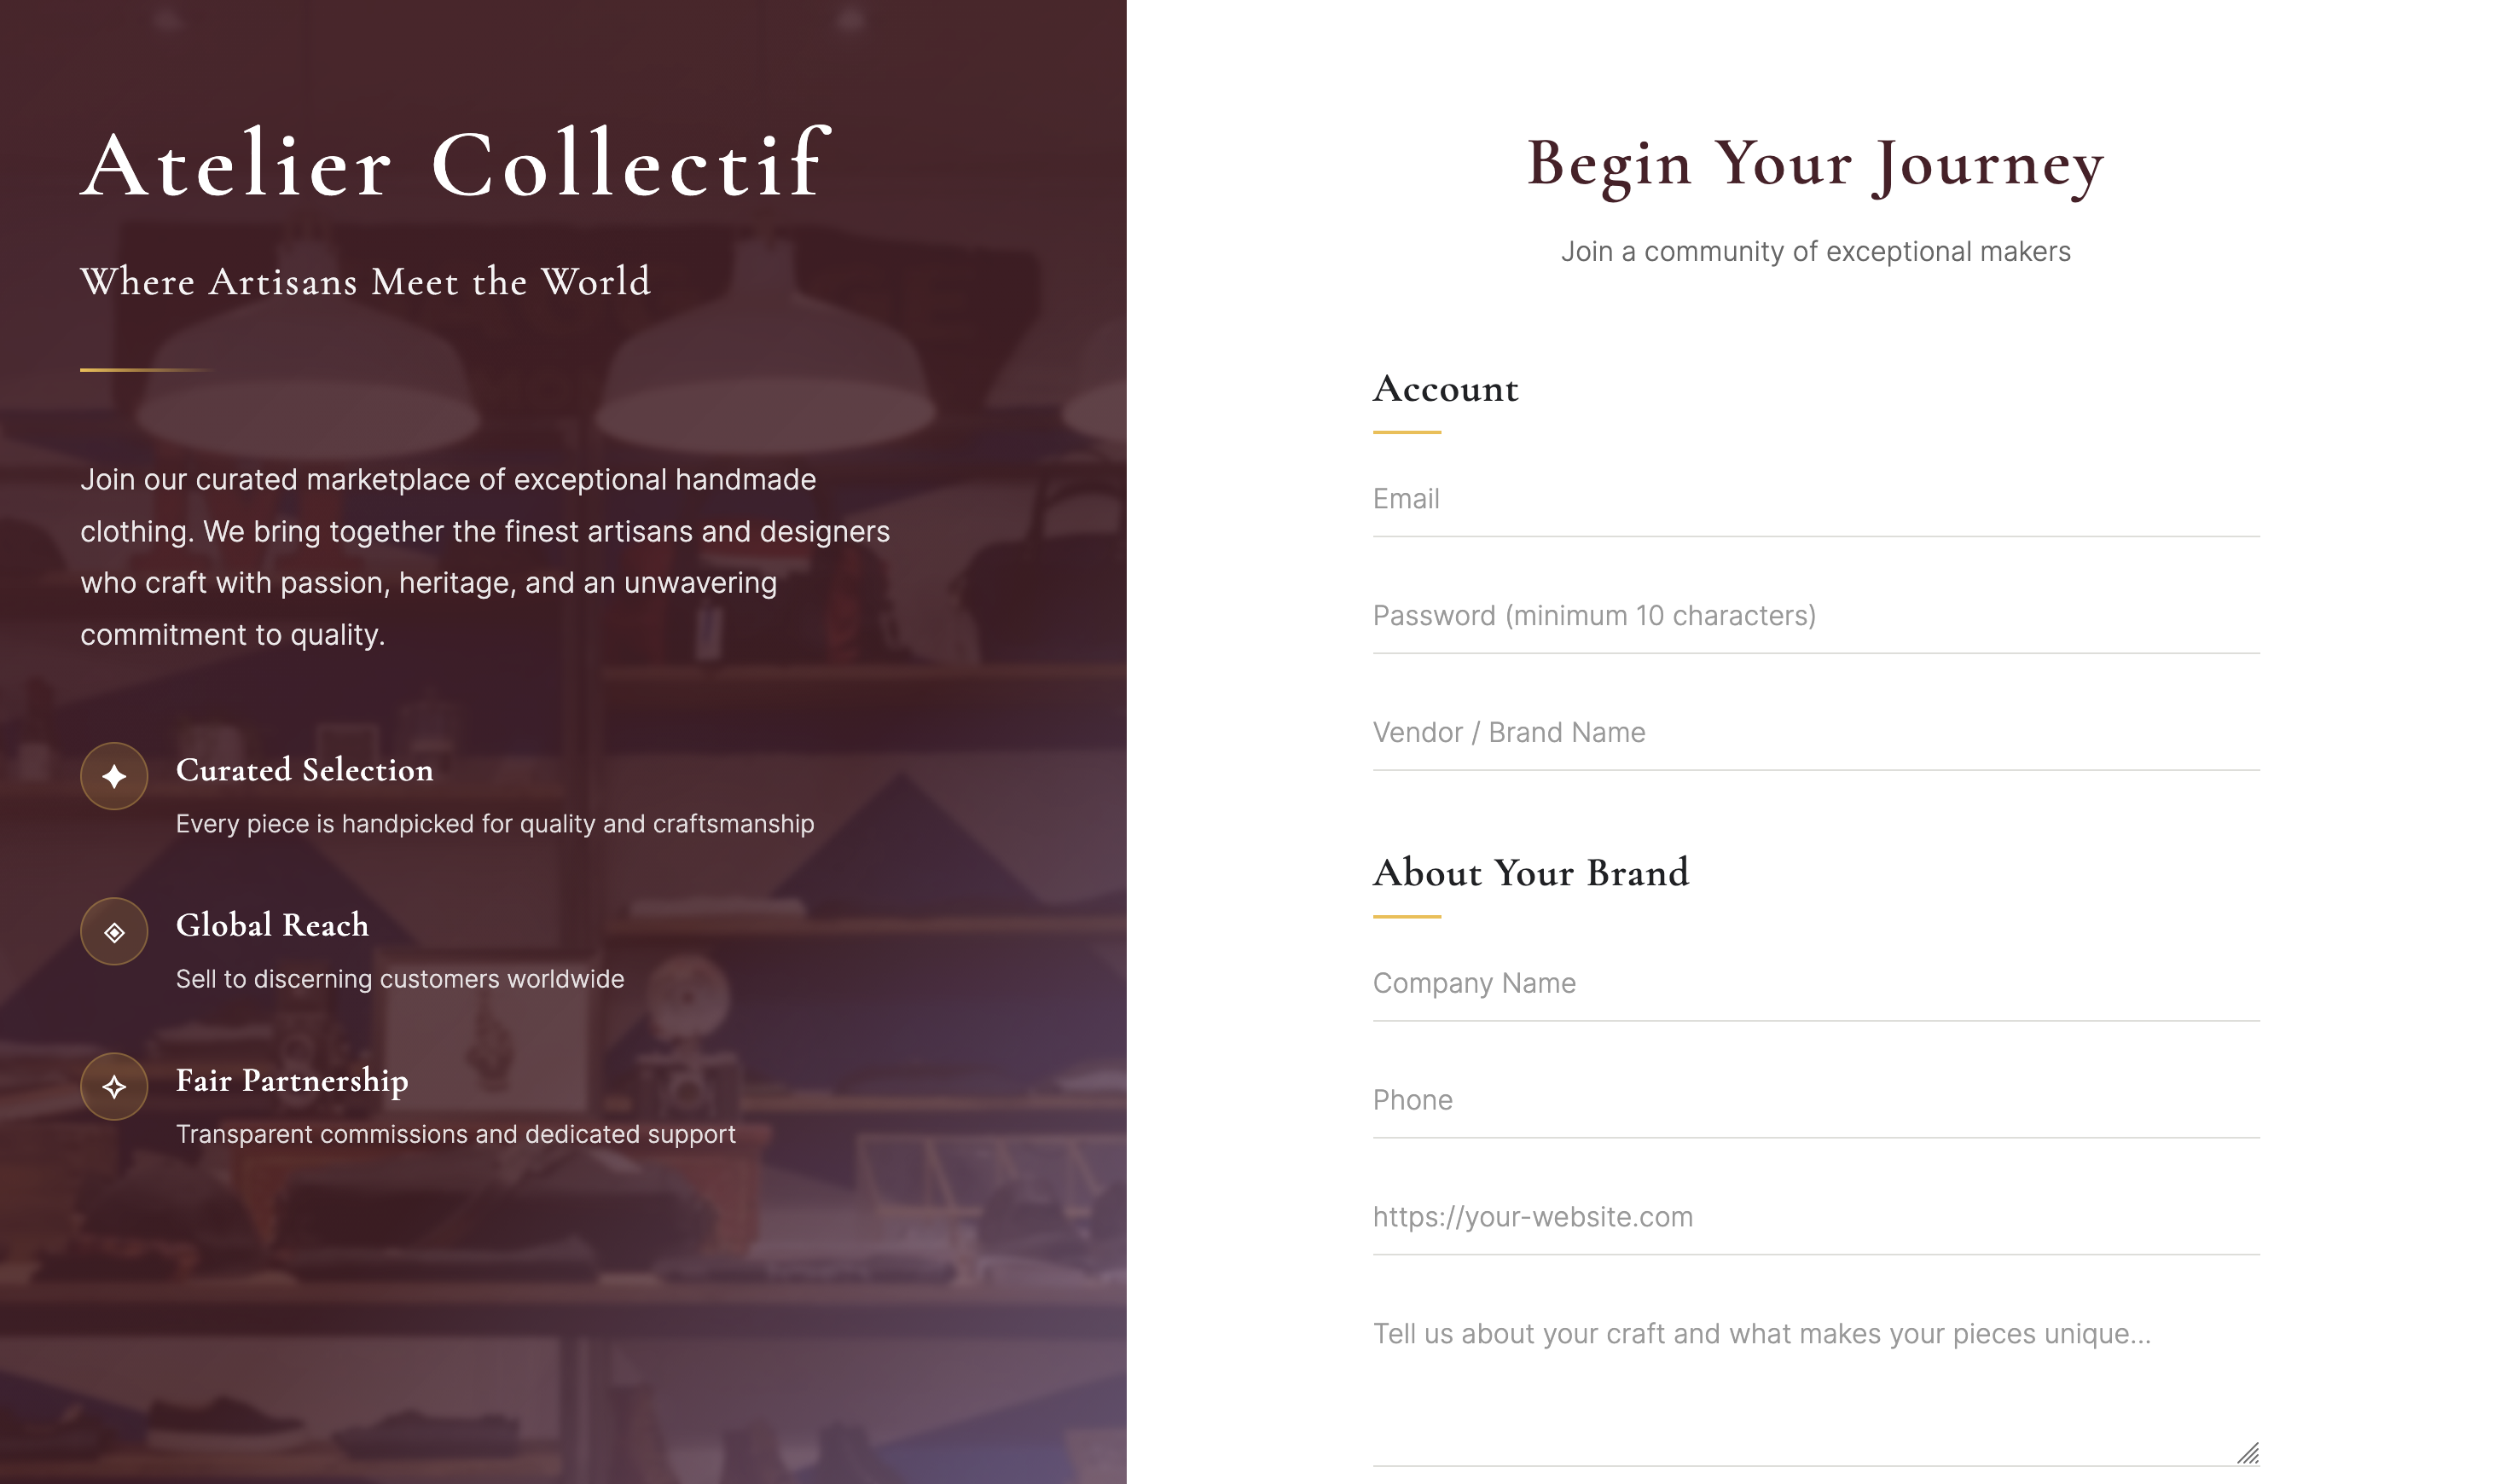
Example of a custom designed onboarding
Example of a custom login form using HTML and CSS:
Login form
html
<form method="POST" action="https://your-store.garnet.center/auth/public/login" target="_blank">
  <label for="email">Email:</label>
  <input type="email" name="email" required />
  <label for="password">Password:</label>
  <input type="password" name="password" required />
  <input type="hidden" name="redirect" value="/" />
  <button>Submit</button>
</form>
Vendor registration
Allow new vendors to register directly on your marketplace. This requires:
- Enable
Custom onboarding forminAdmin Panel > Vendors > Applications
The email and vendor name must not already exist on the marketplace.
The password field is optional. Without it, the vendor receives the invitation email with a link to set their password.
html
<form method="POST" action="https://your-store.garnet.center/api3/public/vendor" id="registrationForm">
  <fieldset>
    <legend>Account</legend>

    <label for="email">Email:</label>
    <input type="email" id="email" name="email" required />

    <label for="password">Password (min 10 chars):</label>
    <input type="password" id="password" name="password" minlength="10" required />

    <label for="vendor">Vendor Name:</label>
    <input type="text" id="vendor" name="vendor" required />
  </fieldset>

  <!-- Add profile fields using bracket notation -->
  <fieldset>
    <legend>Vendor Profile</legend>

    <label for="company-name">Company Name:</label>
    <input type="text" id="company-name" name="profile[company-name]" />

    <label for="phone">Phone:</label>
    <input type="tel" id="phone" name="profile[phone]" />

    <label for="description">Description:</label>
    <textarea id="description" name="profile[description]" rows="3"></textarea>

    <label for="instagram">Instagram:</label>
    <input type="text" id="instagram" name="profile[instagram]" placeholder="@username" />
  </fieldset>

  <!-- Bot protection: honeypot field (must stay empty) -->
  <input type="text" name="website" style="display:none" tabindex="-1" autocomplete="off" />

  <!-- Bot protection: CSRF token -->
  <input type="hidden" name="csrfToken" id="csrfToken" />

  <button type="submit">Register</button>
</form>

<script>
  // Fetch a CSRF token when the page loads
  fetch('https://your-store.garnet.center/api3/public/csrf-token', {
    headers: { 'x-store': 'your-store' },
  })
    .then((res) => res.json())
    .then((data) => {
      document.getElementById('csrfToken').value = data.token;
    });
</script>
The Vendor Profile fieldset is optional. Profile fields are stored in the vendor's metaobject. The field keys must exactly match your vendor profile metafield keys using the profile[] bracket notation (e.g., profile[facebook], profile[company_name]). If a key doesn't match, the API will return a 400 error listing the invalid fields.
If you are using advanced metafields (like image upload), you will need to write additional logic to convert the user image into a valid value for Shopify metafields.
Bot protection
The registration form includes built-in bot protection: a CSRF token with a time check ensures the form was loaded before submission, and a hidden honeypot field catches automated bots. No external service or configuration is needed.
Important: The CSRF token must be fetched when the page loads, not when the form is submitted. The server enforces a minimum delay between token creation and form submission to block bots. If you fetch the token on submit, the request will be rejected with "Please wait before submitting".