
Vendor application
This is one of the 4 ways to invite a vendor on Garnet.
The marketplace can turn on vendor applications to add a vendor approval step.
Garnet provides a form that can be embedded on the marketplace's website to collect vendor applications.
The benefits of Garnet's vendor application is to simplify the approval process:
- the application form's data can be automatically setup in the vendor page,
- all applications are in Garnet's
Admin Panelto centralise all pending actions.
Alternatively, the marketplace can use third-party tools (simple contact form, a Google form...) to connect with potential vendors.
Tips
A good vendor application collects the necessary data for the marketplace to decide whether the vendor is fit to sell on the marketplace.
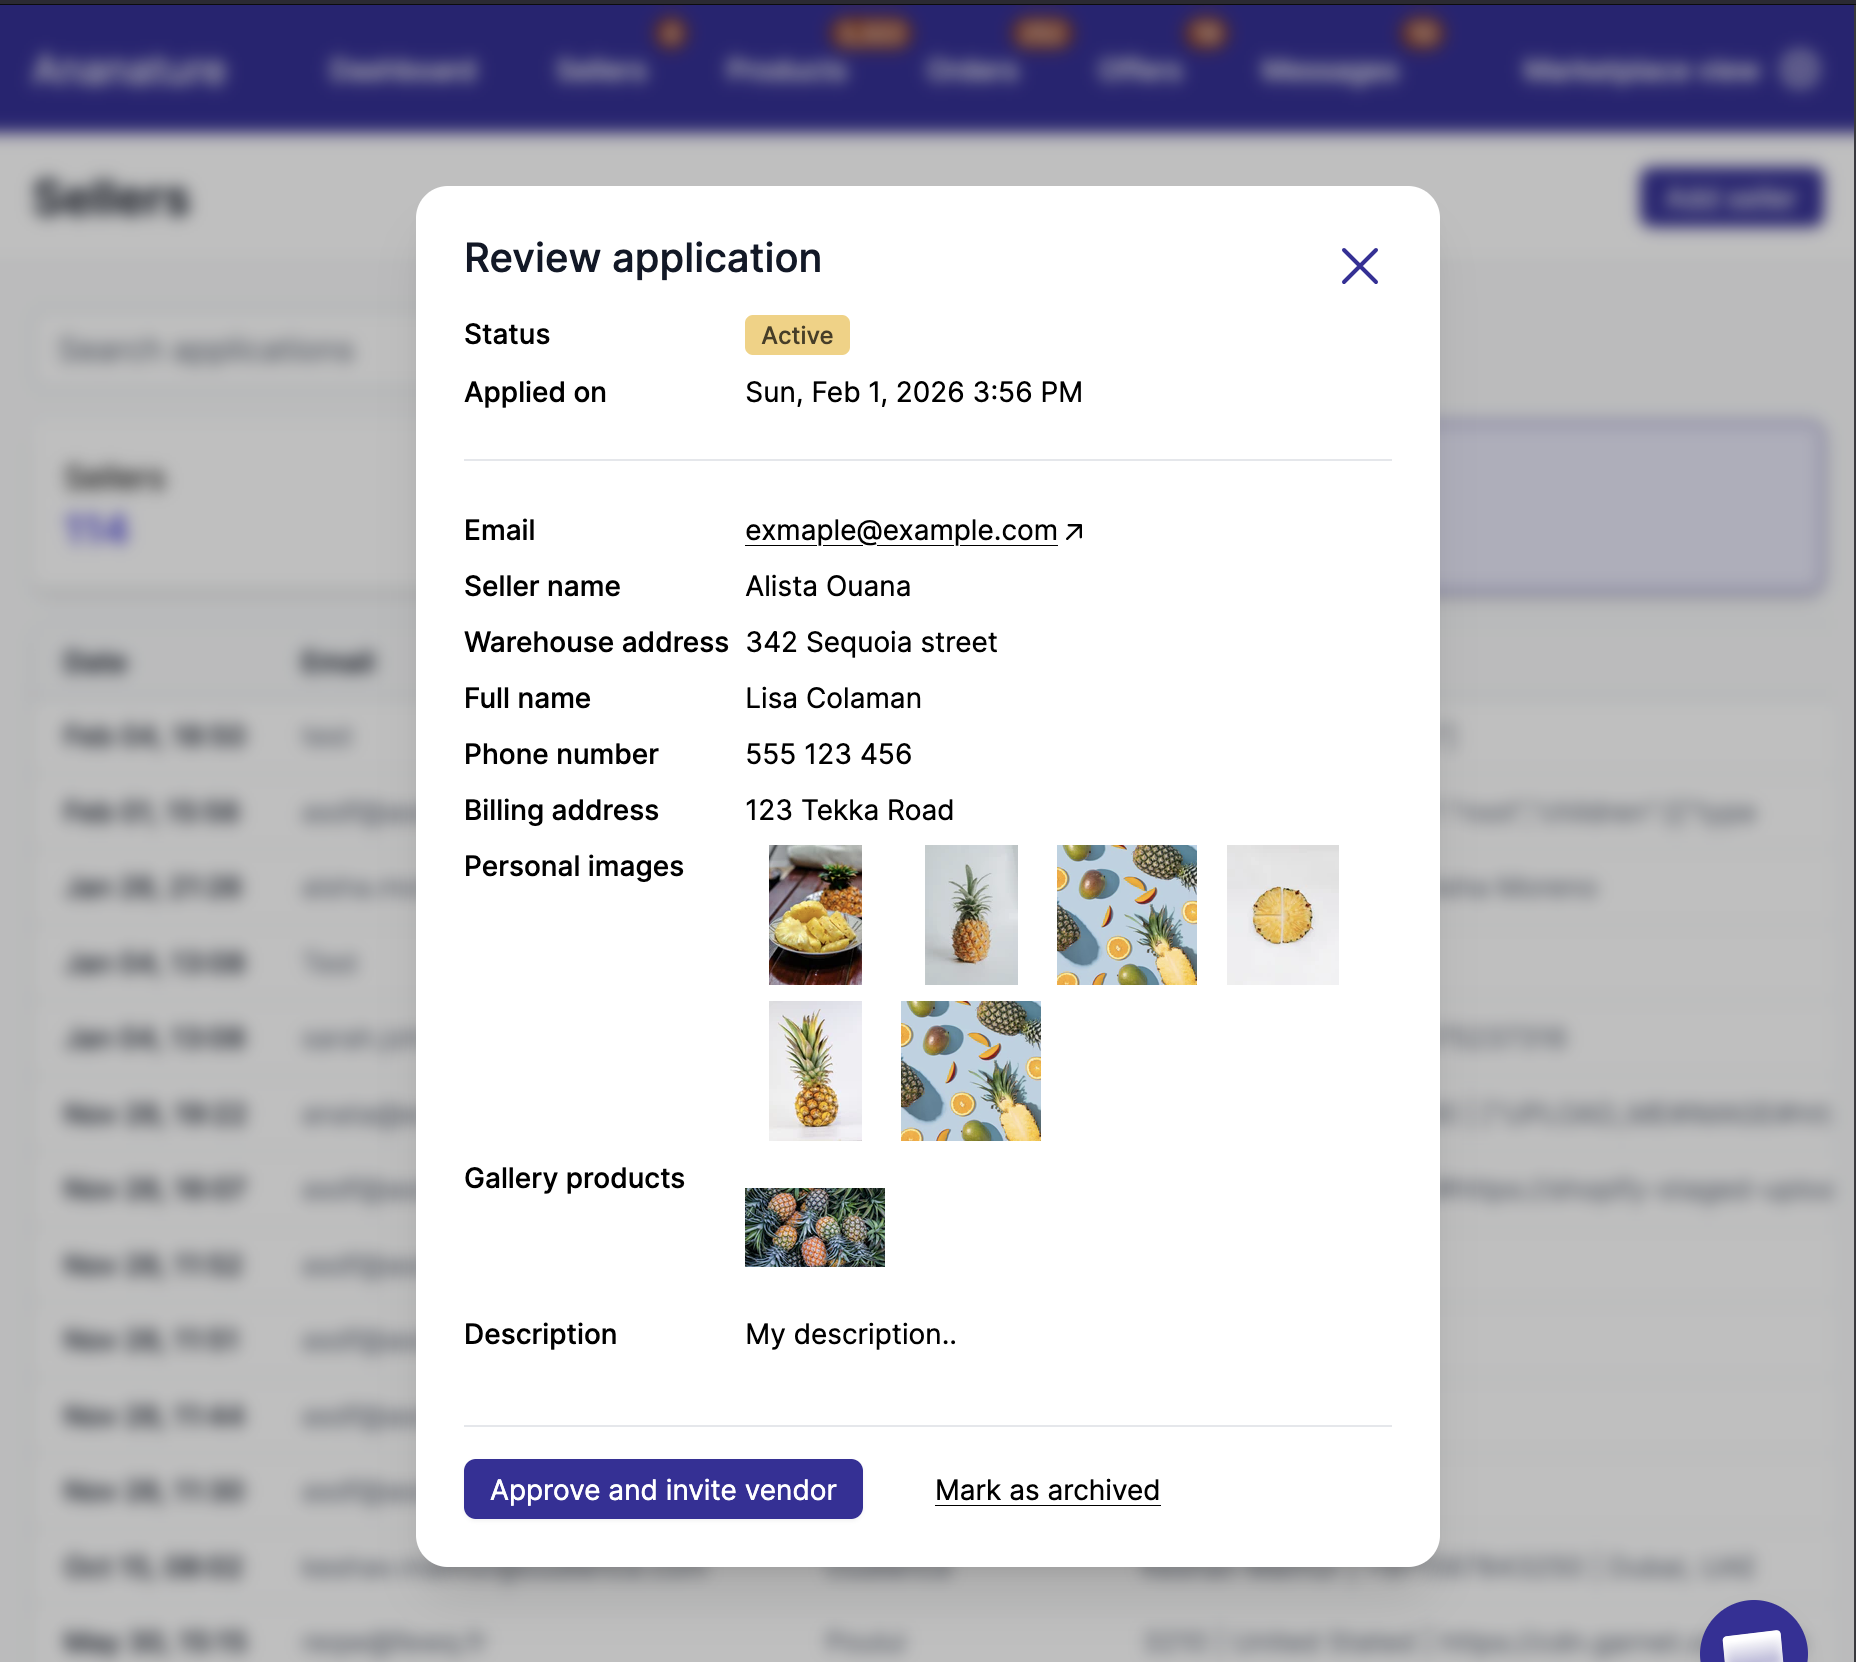
Overview
The marketplace can customise all fields on the application page. The form can be displayed:
- on the marketplace using Garnet's auto-generated pages,
- anywhere on the marketplace's website using Garnet's theme components,
- using Garnet's theme at
https://your-store.garnet.center/app/login/register.
Example using Garnet's theme
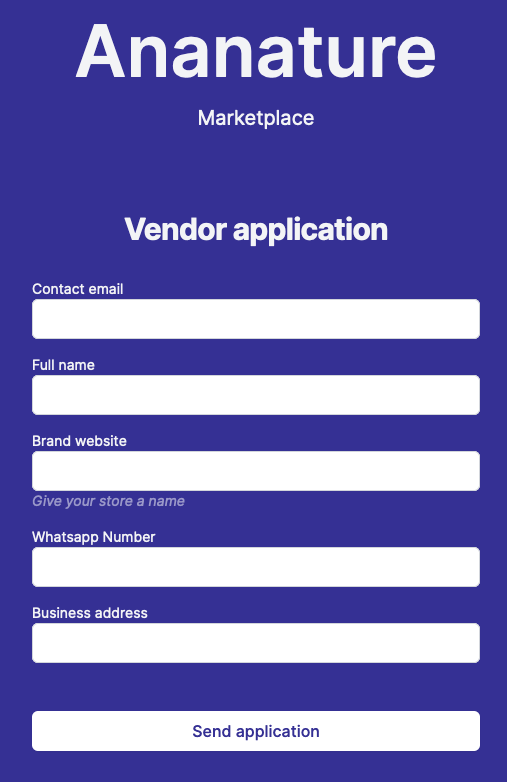
Application form on Garnet's default theme :::
Example using auto-generated page
Application form on Ananature's website
Enable vendor applications
Vendor application can be enabled in Garnet > Admin Panel > Vendors > Applications.
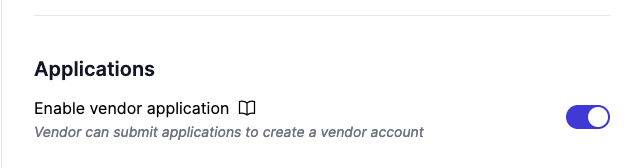
Enable vendor application from the Admin Panel
Once enabled, the marketplace will have access to:
- The
Applicationstab in the admin panel - The
applicationsetting in vendor fields
Vendor fields
All fields visible in applications can be set up using vendor fields.
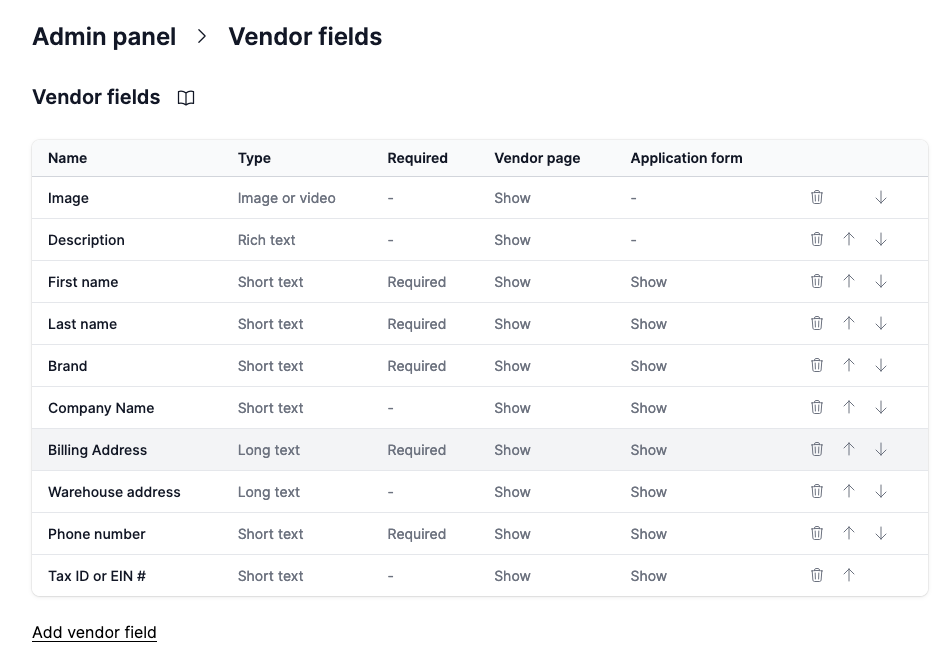
Vendor application field setup
All fields marked as Show in Application form will show on the application form.
Review an application
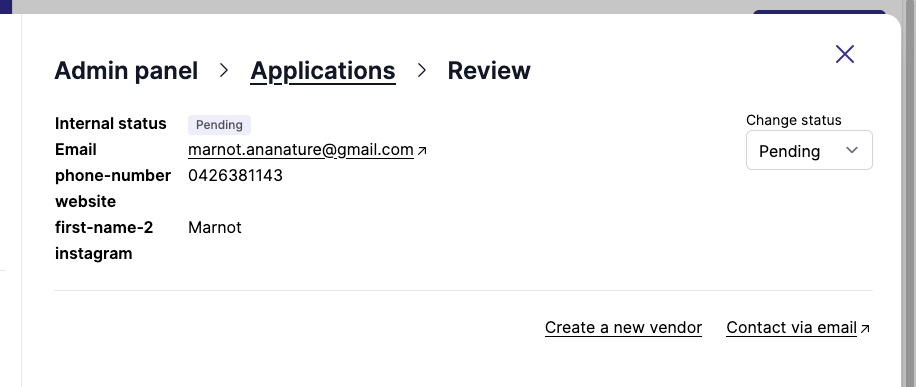
Click an application to view it in detail. From there the marketplace can:
- Reject the application with
Reject application(a second click confirms). The application moves toRejectedand the vendor receives the rejection email when it is enabled. - Archive the application with
Archiveto set it aside without telling the vendor. The application moves toArchivedand no email is sent. - Mark as pending a rejected or archived application to put it back in the pending list. No email is sent.
- Create a new vendor based on the application data. You can edit the fields if necessary.
- Contact via email, to email the vendor.
Filter applications
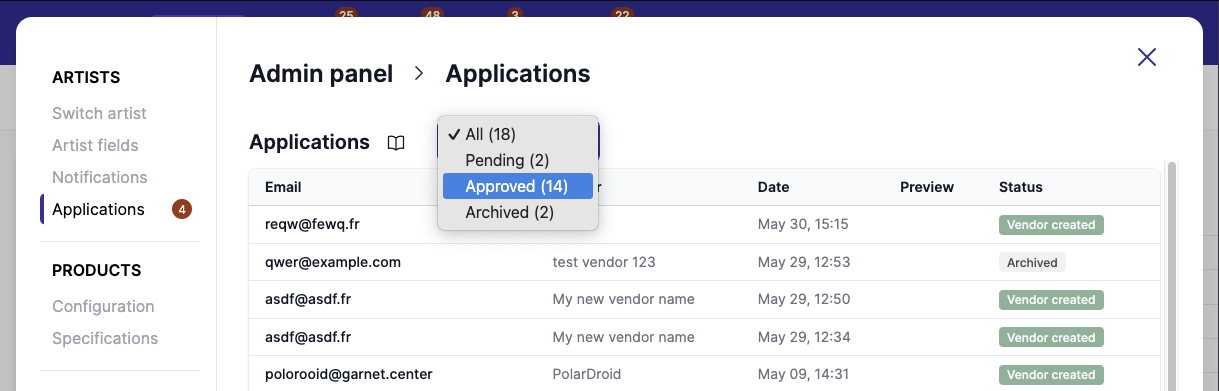
Applications can be filtered to display only applications of specific status.
Email notification
When a vendor application is submitted, both the marketplace and the vendor receive an email. The marketplace can reply to the email to chat with the vendor.
When an application is rejected, the vendor receives the Application rejected email if it is enabled in Garnet > Admin panel > Vendors > Notifications. It is on by default for marketplaces created after 9 September 2026 and off for the ones created before, so nothing is sent unannounced: turn it on from the notification tab. The default wording says the brand is not a fit for the marketplace at this time and that the vendor is welcome to apply again; customise it to give your own reasons. Archiving an application, or marking one as pending again, never sends an email. Approving an application creates the vendor and sends them the invitation.
Emails can be customised in the notification tab or by using our email integrations.
Customise the code
Here is an example of a custom registration page implementation:
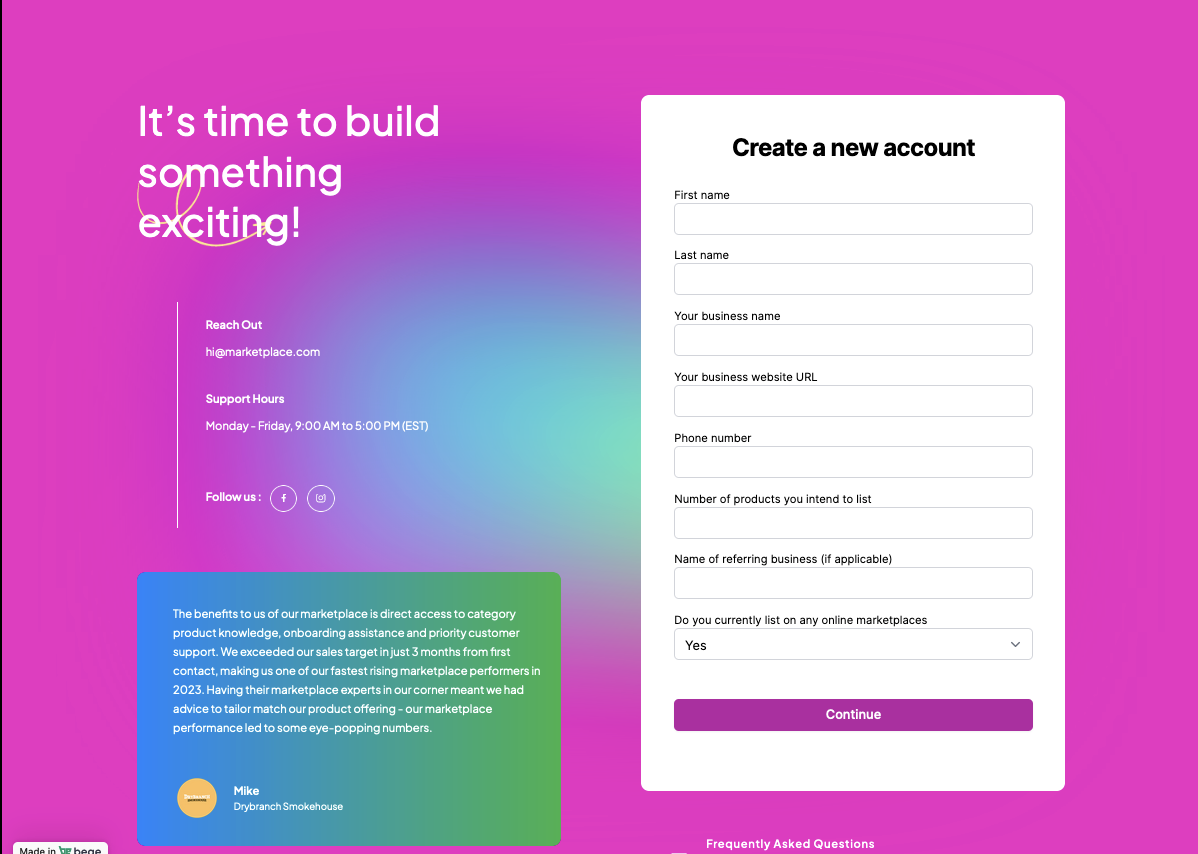
It can be done by adding the registration page link using an <iframe>.