
Vendor fields
Vendor fields are fields presented on the vendor application and on the vendor page. Access the setting by going to Garnet > Admin Panel > Vendors > Vendors fields.
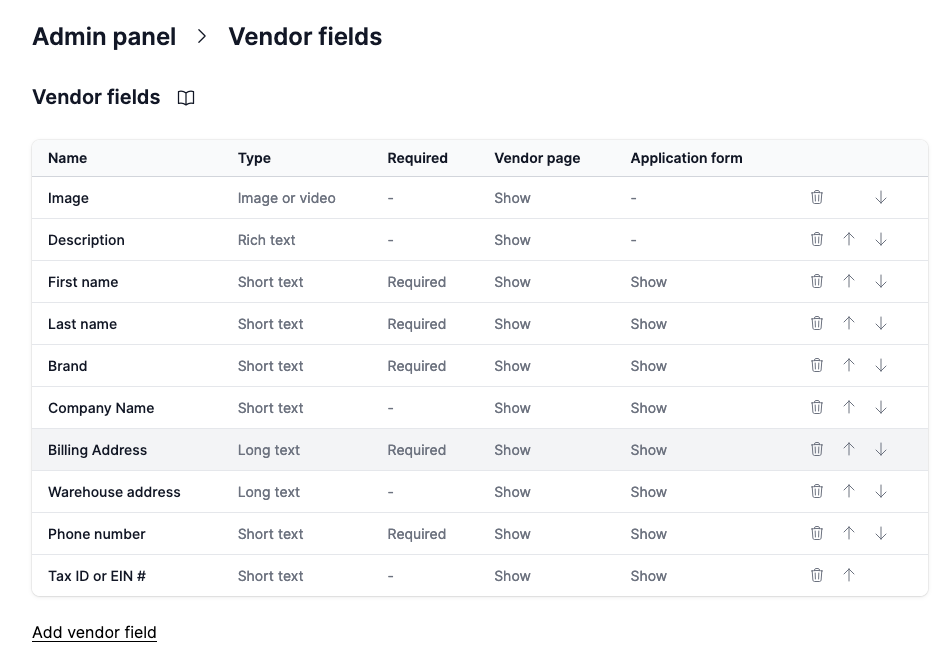
Create or edit a field
Click Add a registration field or select a field to open the editor.
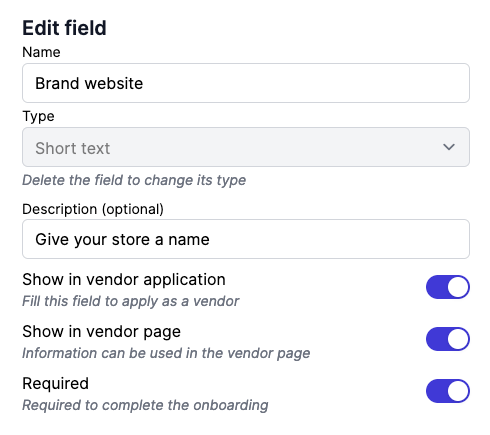
Request during application
Tick this box to have the field show up during the application step. As a rule of thumb, fields in the application page helps the marketplace decide whether the vendor is fit to work with the marketplace.
Show in vendor page
Tick this box to have the field editable in the vendor page. Tick this box if you intend to display the information on your shop, or if you intend to use as internal purpose (such as the tax ID for the marketplace's accounting).
Required
Fields can be marked as Required. Vendors will need to fill these fields in order to complete the form.
Field description
The registration description will be displayed in a lighter shade of grey below the fields. It can be used to indicate additional information to help the vendor fill the necessary information.
Fields types
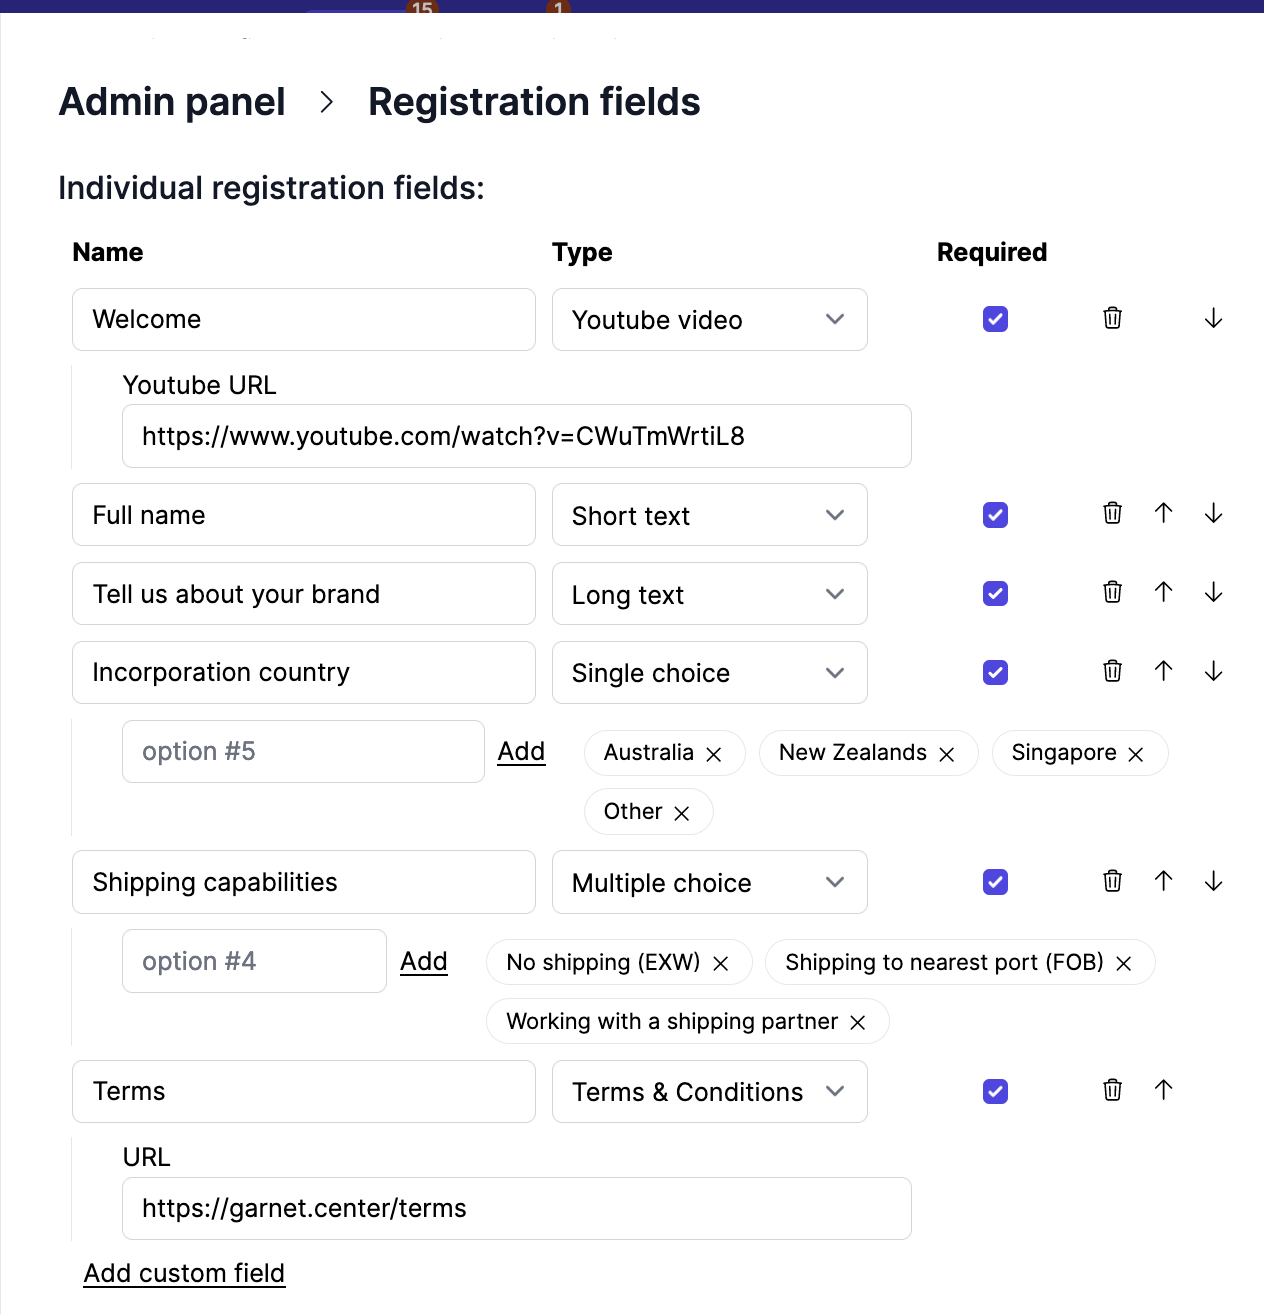
There are 9 types of fields supported:
| Field | Display |
|---|---|
| Short text | Classic input bar |
| Long text | Text input 3 line high |
| Terms & Conditions | Input bar with email validation |
| Single choice | Dropdown |
| Multiple choice | Checkboxes |
| Youtube video | Youtube video player |
| File | Any document upload |
| Image | Image (deprecated) |
| Media | Image or video |
Garnet will add more fields in the future. We are interested in your use cases.
Single choice and Multiple choice require at least 2 options. You can add/remove options.
Registration field demonstrations
Here is a registration configuration using all 9 fields
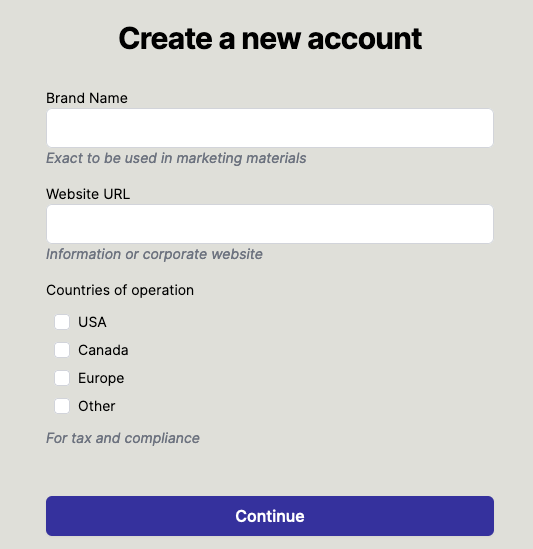
Here is how the registration page looks 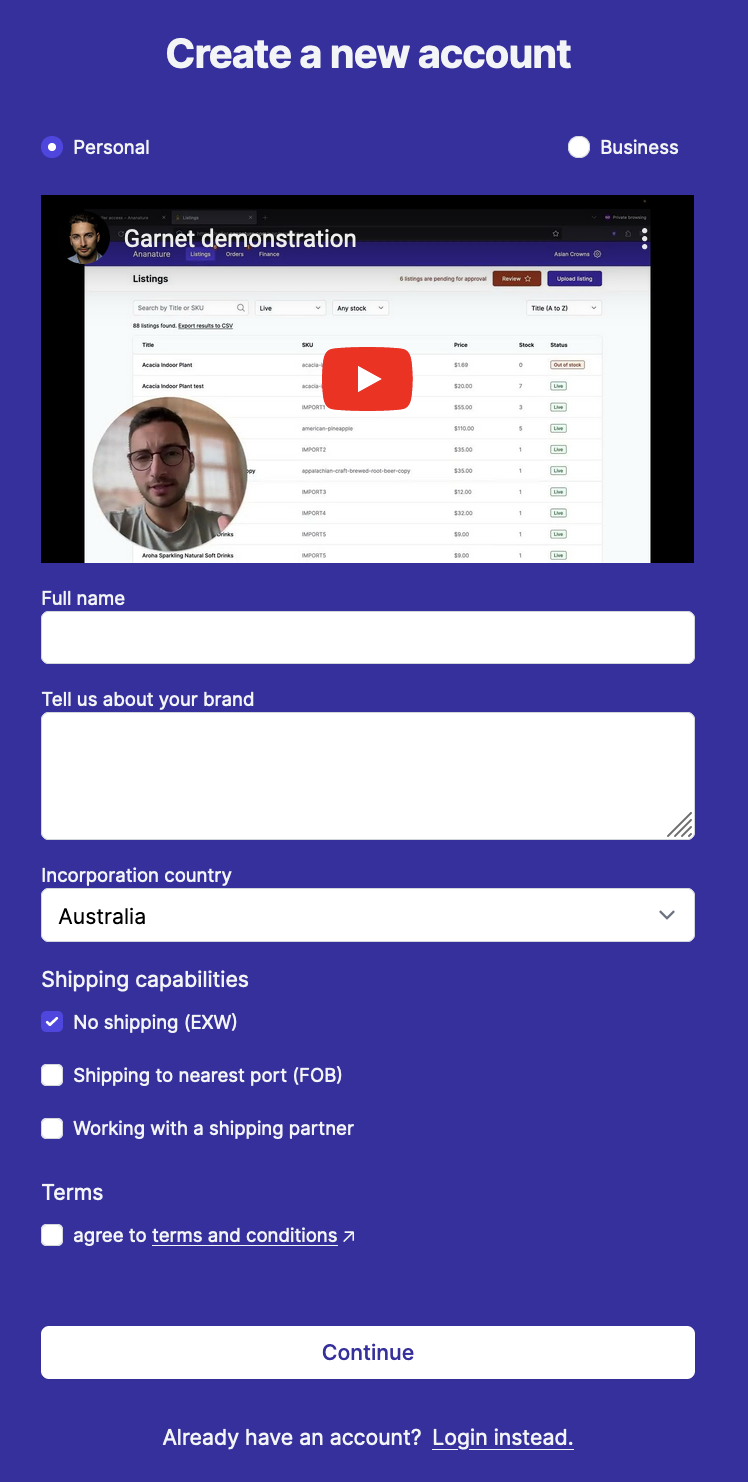
Field limit
Shopify allows at most 40 fields on a vendor profile. The count sits next to the Vendor fields title in Garnet > Admin Panel > Vendors > Vendors fields — for example Vendor fields (12/40) — and turns red once all 40 are used. Past that, Shopify refuses to create a new field, so remove fields you no longer collect to make room.
Group fields in sections
Vendor fields are grouped in sections, listed in the Vendor fields panel. To create one, type its name next to Add section: and click Add. Hovering the title of a section shows two buttons on its right: the pencil opens a window to rename the section, and the bin deletes it — its fields move to another section and are never deleted. Fields and sections are reordered by dragging them with the handle on their left.
Nothing is stored until you click Save, whether you added, renamed, deleted or reordered a section.
Edit, move, delete fields & prevent missing data
Select a field to open the editor on the right, where Delete removes it.
If vendors are already registered and you remove a field, the value of this field will not be visible on their settings page. Data is not lost but it is not displayed.
If a field is renamed or edited, the vendor's past data will remain.
When you create a field, all vendors will have an empty field in their settings page. As an admin you can fill up this value if necessary for data consistency.